Brake Lines

All of the brake lines were fabricated and installed. I used Aeroquip hose for the flexible portions around the rudder/brake pedals, and then -3 hard tubing from the canard bulkhead all the way back through the keel to the landing gear bulkhead. Exiting the keel at the whale tail, the two tubes make a bend outward and upwards, passing through the landing gear bulkhead on either side of the MLG pulleys. Elbow bulkhead connectors then make the transition to the flexible hose that continues down the gear legs to the brake assemblies on the wheels.

Aileron Torque Tube Bearings

While positioning and repositioning the aileron torque tube in the keel, I started thinking about how one might perform maintenance. I was also not happy with the way the build manual suggested to hold the torque tube bearings into their mounting angles.

I designed a very simple retainer ring that holds the bearing very nicely into the mounting bracket. I also modified the bracket by cutting out a portion of the bracket so that the torque tube can be removed simply by removing the three socket screws that retain the bearing, and then slipping the bearing out of the mounting bracket. Finally, installing nut plates on the mounting brackets makes their installation into the keel easier.

Fuel Selector Valve Testing

The plan is to install a fuel tank selector valve, inspired by Ron Stacey’s very nice Velocity. As Ron says – if you think about it, there are no certified aircraft that don’t have fuel selectors. Another advantage is that a selector valve provides a handy place to hook up an optional auxiliary fuel tank.

The options break down as follows:
A) Position the selector valve close to pilot, probably in the side of the keel. This requires routing fuel from the strakes up to the valve and then back to the sump tank. Because of the long runs, 1/2″ tubing is the minimum practical size (IO-550 engine). Thats lots of fuel line, and there is not much space in the keel for three parallel runs, especially back at the whale tail.
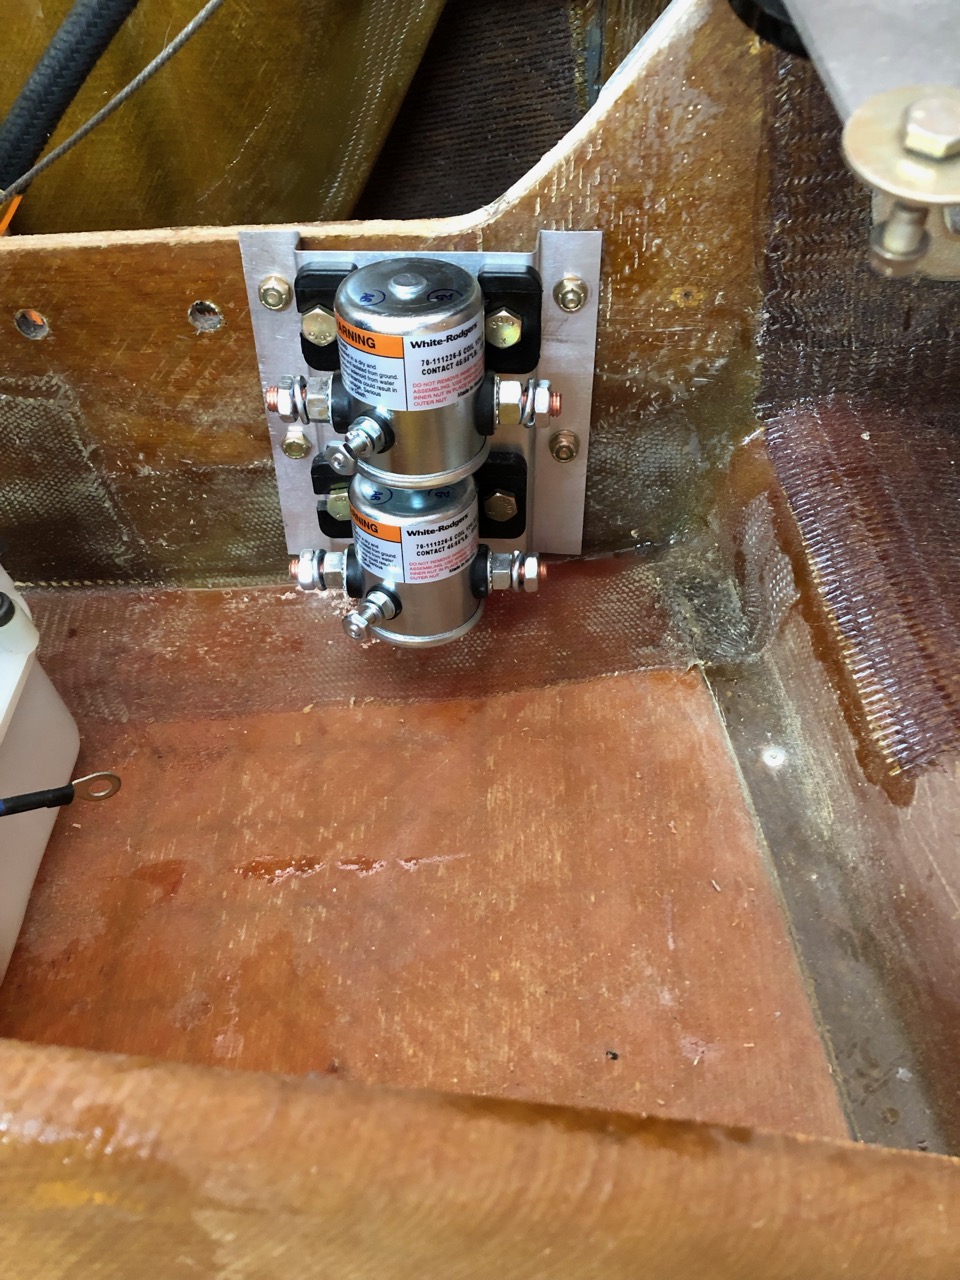
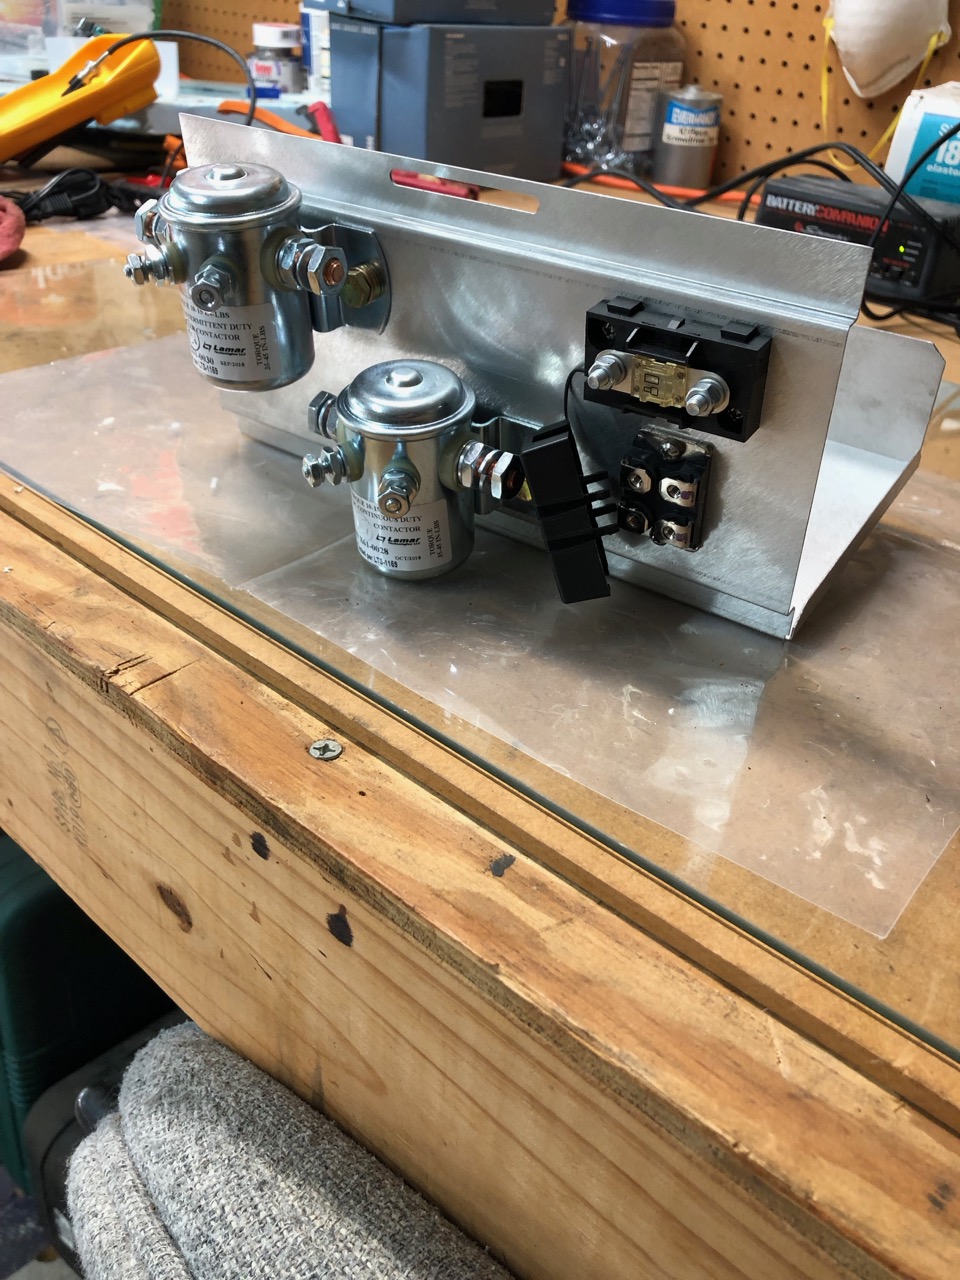
B) Position the selector valve somewhere behind the whale tail. This requires running some type of linkage (cables + pulleys or shafts + u-joints) between the selector knob and the valve itself, but eliminates the long runs of fuel tubing.

Another potential issue with option A is that when the aircraft is in a climb, the selector valve may be higher than the fuel tank. The sump tank is still below the fuel, so this represents a siphon condition – the fuel must run uphill to the valve, and then back downhill to the sump. This should be fine as long as there are no bubbles in the fuel line.

To test this, I set up the fuel valve with the correct distance from and with varying height with respect to a fuel tank, which was the correct height off the “floor”, and could be filled with varying heights of “fuel”. I used water for the tests, and converted the measured flow rates to estimated fuel flow by scaling with the viscosity ratio. The simulated sump tank was a graduated bowl, and for each simulation scenario I measured the time it took for one liter of water to flow into the sump.

The measurements indicate that the siphon works OK, and the maximum expected fuel flow rate (full tanks, level attitude) into the sump was about 46 GPH, in excess of what is required for an IO-550 at full power. This flow rate was only slightly decreased when changed to a steep climb. However, with the fuel tank at 1/4 full, the flow rate into the sump decreased to about 28 GPH, which is marginal for a high power setting. The most worrisome aspect was that introducing a bubble into the feed line from the fuel tank to the valve caused the flow to stop. This always happened if the attitude was climbing, and even sometimes if the attitude was level. The only way to reestablish flow was to change the attitude to a significant dive.

The bottom line is that putting the fuel selector valve forward is very risky without also installing a pump that can re-prime the fuel lines (or run all the time!) to prevent the loss of siphon. Not worth it…

Solenoids and Battery Boxes

I fabricated some aluminum supports for holding the hydraulic pump solenoids and the front and aft battery boxes with their solenoids. I have had very good experience with the Concorde 35 series lead-acid batteries in the Viking, so I thought I would use them in the Velocity.

The plan is to have an aft main battery for starting and providing power to engine and other accessories, and a forward battery in the nose compartment for the avionics. A switchable crosstie will allow charging of the nose battery from the alternator through an isolation rectifier. Both battery boxes will have main fuses and current-sensing shunts installed, as well as two solenoids each (aft: master and starter; nose: avionics master and crosstie).

Aileron Trim Actuator

The factory upgraded the aileron trim mechanism around the same time that they moved to the pushrod-bellcrank mechanism. The end plate at the “whale tail” that holds the aft end of the aileron torque tube was made smaller, and the old trim motor, string, and spring were eliminated. The replacement is a linear actuator with an integral spring.

There are no instructions from the factory for installation, so I plan to install the actuator on the pilots side.

Engine Mount Bolts

Scott Swing let me know that the engine mount for a TCM IO-550 is 24″ wide at the bottom, and that the bolts penetrate the firewall just above the fuselage floor. I had previously cut down my header tank to make more room in this area, and I was relieved to find that there appears to be sufficient space to accommodate the bolts and the large washers. The 12″ mark is aligned with the fuselage centerline, and the tape measure shows the approximate location where the holes will be.

Hydraulic Pump and Lines

The landing gear hydraulic pump was mounted onto the MLG bulkhead with a thick aluminum backing plate. Bolts enter from the aft side, pass through the backing plate, and then screw into the hydraulic pump body. The pump reservoir is about 2 cm off the floor of the fuselage.

After making a couple of flexible hydraulic lines that run from the pump to the fittings on the MLG hydraulic cylinder, I started to worry about the hydraulic lines fouling the MLG retraction cables. One solution would’ve been to fabricate rigid hydraulic lines, but I decided to separate the keel space vertically into an upper deck and a lower deck. The brake lines, which are rigid tubing, and the MLG cables will occupy the lower deck, an the aileron torque tube, hydraulic lines, and wiring will be on the upper deck. A thin layup was made with 2x BID on aircraft plywood, and this was shaped to be the divider. An aluminum tunnel was made to cover the aft end of the gear cables, and to provide a transition for the hydraulic lines to enter the keel.

Aft Battery Tray

An aft battery tray was fabricated as a layup of 1x triax and 2x BID on divinylcell foam. The layup was done directly on a glass plate to get a smooth top finish. The tray and the legs were cut out with a jigsaw, and the legs were contoured until the tray sat level in the aft area between the whale tail and the MLG bulkhead. An aluminum battery bracket is being fabricated to retain the battery to the tray and to the MLG bulkhead.